
How to Wash Graphic Tees: Keep Prints Bold in 2026
Table of Contents
- How to Wash Graphic Tees: The 5-Step Method That Stops Cracking
- How to Wash Graphic Tees Without Cracking: Care by Print Method
- The Best Detergent for Graphic Tees (and What to Skip)
- How to Hand Wash Graphic Tees When the Machine Is Too Rough
- Stain Removal by Stain Type Without Damaging the Print
- How to Dry Graphic Tees Without Fading or Peeling
- Common Mistakes That Ruin Graphic Tees (and How to Avoid Them)
- Frequently Asked Questions
Last Updated: October 4, 2026
How to Wash Graphic Tees: The 5-Step Method That Stops Cracking
You bought the shirt because the design says something. Three washes later, the print is cracked, faded, and peeling, the fastest way to turn a statement piece into a rag.
Learning how to wash graphic tees correctly comes down to five steps, and none take extra time.
Most print damage does not come from one bad wash.
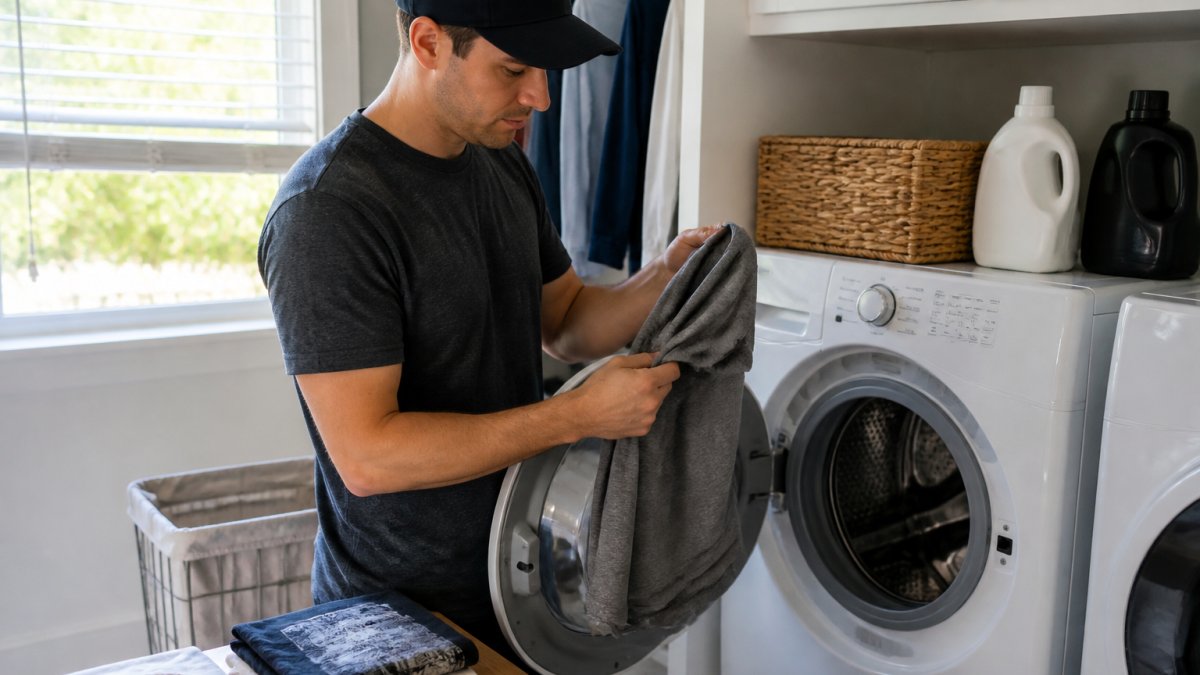
Step 1: Read the Care Label Before Anything Else
The care label is the manufacturer's instruction sheet, and it overrides every general rule. Check it first.
Look for three things: water temperature, drying method, and warnings about bleach or ironing. If the label says cold wash and hang dry, that is your answer.
Most printed garments tolerate a gentle machine wash. Some do not. The label tells you which shirt you are holding.
Step 2: Turn the Shirt Inside Out
Turning the shirt inside out is the single most effective habit for print longevity. It puts fabric between the print and everything else in the drum.
The graphic never rubs against other clothes, zippers, or the agitator. Friction causes cracking, and this step removes most of it.
Do this every single time. It takes five seconds.
Step 3: Set the Washer to Cold Water and a Gentle Cycle
Cold water protects both the print and the fabric color. Heat softens the ink and breaks its bond with the cotton.
Set the machine to a gentle or delicate cycle. Skip heavy duty and high-spin settings that whip clothes against the drum.
For front-loading machines, use the lowest spin speed available. For top-loaders, choose the shortest gentle cycle.
Step 4: Wash With Similar Colors and Fabrics
Sort laundry so printed shirts wash with similar colors and fabric weights. A graphic tee tossed in with heavy jeans gets abraded for a full cycle, so wash graphic tees with other cotton shirts, light sweaters, or jersey fabrics, and keep zippers, hooks, and rough textures out of the load. New graphic tees should be washed separately the first time, since some prints release excess dye.
Step 5: Remove Promptly and Reshape
Pull shirts out as soon as the cycle ends. A damp drum invites wrinkles and mildew.
Shake each shirt, reshape it by hand while damp, and smooth the print flat with your palm.
Hang or lay flat to dry. Never wring a printed shirt.
How to Wash Graphic Tees Without Cracking: Care by Print Method
Not all prints are built the same, and how you wash graphic tees without cracking depends on which print method made them. The American Cleaning Institute's fabric care guidance notes that heat and agitation are the two biggest threats to printed fabric.
Here is how the four most common print methods compare:
Print Method |
How It Feels |
Wash Temperature |
Dryer Safe? |
Biggest Threat |
|---|---|---|---|---|
Screen print (plastisol) |
Thick, raised, rubbery ink |
Cold |
Low heat only, remove damp |
Cracking from heat and stretch |
Screen print (water-based) |
Soft, sinks into fabric, vintage feel |
Cold |
Air-dry preferred |
Fading from harsh detergent and hot water |
Direct-to-garment (DTG) |
Soft, printed into the fibers |
Cold |
Low heat only |
Fading and dulling from detergent residue |
Heat transfer / vinyl |
Smooth, slightly plastic, edges visible |
Cold |
Air-dry only |
Peeling from heat and friction |
Screen print (plastisol) is the most durable of the four. The PVC-based ink cures onto the fabric surface, so it can crack if stretched or washed hot.
Screen print (water-based) uses ink that soaks into the cotton instead of sitting on top.
Direct-to-garment (DTG) prints are sprayed into the fabric and cured. They feel soft and fade faster than plastisol.
Heat transfer and vinyl prints are the most fragile. The design is a film bonded with heat-sensitive adhesive, and heat lifts the edges.
If you do not know your print method, treat the shirt like a heat transfer. It is the safest default.
The Best Detergent for Graphic Tees (and What to Skip)
The best detergent for graphic tees is a mild, liquid, dye-free formula with no bleach and no fabric softener. It cleans the shirt without attacking the print.
Liquid detergent dissolves better in cold water than powder, which can leave grit on the print. Use about half the recommended amount.
Skip these entirely:
- Bleach, including color-safe bleach, which still breaks down ink
- Fabric softener, which coats the print and speeds up peeling
- Harsh chemicals and stain removers with chlorine
- Detergents with added enzymes designed for heavy soil
If you want a gentler option, a small amount of mild dish soap works for spot cleaning. For full loads, stick with a free-and-clear liquid detergent.
How to Hand Wash Graphic Tees When the Machine Is Too Rough
Hand washing is the safest option for delicate prints, vintage shirts, or heat transfer designs. It takes about ten minutes and removes all machine agitation.
Fill a clean sink or basin with cool water, add a capful of mild detergent, and swish.
Then:
- Turn the shirt inside out and submerge it.
- Gently press the shirt down with your hands for two to three minutes. Do not scrub or twist.
- Let it soak for five minutes if it is lightly soiled.
- Drain the basin and refill with cool water.
- Rinse by pressing the shirt gently until the water runs clear.
- Press the shirt between two towels to remove excess water. Never wring it.
Lay the shirt flat to dry, print side up. Reshape the shoulders and sleeves while it is damp.
Stain Removal by Stain Type Without Damaging the Print
Treat stains from the inside out, and never scrub the printed side. Scrubbing pushes the stain deeper and wears down the ink.
Match your treatment to the stain:
Stain Type |
Treatment |
Method |
|---|---|---|
Grease or oil |
Mild dish soap |
Dab on, wait 10 minutes, rinse cool |
Coffee or tea |
Cool water and mild detergent |
Blot, then soak 15 minutes |
Grass |
Cool water and a drop of white vinegar |
Soak, then rinse thoroughly |
Deodorant |
Baking soda paste |
Apply, wait 15 minutes, rinse cool |
Ink |
Rubbing alcohol on a cotton ball |
Dab from the back, do not rub |
For a baking soda paste, mix two parts baking soda with one part cool water. Apply it to the stain only, keeping it off the print.
Hydrogen peroxide can lift some stains, but test it on an inside hem first. It can lighten colored fabric and dull the print.
Always rinse with cool water after treating. Hot water sets most stains permanently.
How to Dry Graphic Tees Without Fading or Peeling
Air-drying is the safest way to dry graphic tees and adds years to the print.
Air-drying, done right. Hang shirts on a plastic or padded hanger, or lay them flat on a drying rack.
Ironing without touching the print. For wrinkles, turn the shirt inside out and iron the back of the print on low heat.
Fabric-specific exceptions.
- 100% cotton: tolerates low dryer heat and a low iron, but shrinks in high heat. Expect some shrinkage on the first wash regardless of print type.
- Cotton/poly blends: dry faster and wrinkle less, but polyester holds heat, so a low dryer setting is still the ceiling.
- Tri-blends and rayon blends: drape well but distort easily when wet. Always lay flat to dry.
- Performance and moisture-wicking fabrics: never use fabric softener or dryer sheets, since they clog the wicking finish. Air-dry these.
If the print is already damaged. A cracked plastisol print will not re-fuse at home, and a faded DTG print cannot be restored.
Common Mistakes That Ruin Graphic Tees (and How to Avoid Them)
The same handful of mistakes destroy most printed shirts, and all are easy to fix. Stop doing these.
- Washing in hot water. Heat breaks down the ink bond. Switch to cold.
- Using bleach or fabric softener. Both attack the print. Skip them.
- Drying on high heat. This is the fastest way to crack a design. Air-dry or use low heat.
- Leaving shirts in the washer. Damp fabric grows mildew and sets wrinkles. Remove promptly.
- Ironing directly on the print. The iron melts the ink. Iron inside out on low.
- Overloading the machine. Cramped clothes rub against each other. Wash smaller loads.
- Skipping the inside-out step. Friction is the top cause of cracking. Flip the shirt every time.
For more on fabric care standards, the FTC care labeling rule explains what those care symbols on your label actually mean.
Most people treat a graphic tee like any other shirt, and the print pays for it. Cracking, fading, and peeling are not inevitable.
At BoldGoodsUSA, we build shirts for people who want their wardrobe to say something. We focus on political satire, faith, freedom, and the American spirit, and we want those designs to stay sharp for years.
Shop the BoldGoodsUSA collection and wear your beliefs with confidence. Follow the five-step wash method, and your favorite design stays as loud as the day it arrived.
Frequently Asked Questions
Can you put graphic tees in the washing machine?
Yes, most graphic tees can go in the washing machine if you take a few precautions. Turn the shirt inside out, use cold water on a gentle cycle, and wash with similar colors. Avoid harsh chemicals, bleach, and fabric softener, which break down the print over time. If the care label says hand-wash only, follow it. Machine washing is safe for most cotton and cotton-blend printed t-shirts when you keep agitation low and skip the dryer.
Are you supposed to wash graphic tees inside out?
Turning graphic tees inside out is one of the simplest ways to protect the print. It reduces friction and abrasion against the drum and other garments, which is the main cause of cracking and peeling. This step matters even more on a gentle cycle because the print faces inward and avoids direct contact with zippers, buttons, and rough fabrics. Pair it with cold water and mild detergent for the best results.
What water temperature is best for washing graphic tees?
Cold or cool water is best for graphic tees. Heat softens the ink and adhesive that hold the design to the fabric, so hot water speeds up fading, cracking, and peeling. Cold water also helps preserve the color of the cotton or jersey itself and reduces shrinkage. If a stain needs more help, treat it before washing rather than raising the temperature, and use a gentle cycle to keep the print intact.
How do you remove stains from a graphic tee without damaging the print?
Treat stains from the inside out and blot, never scrub, the printed area. For grease, apply a drop of mild dish soap and rinse with cool water. For ink or grass, dab with rubbing alcohol on a cotton ball. For coffee or wine, a paste of baking soda and water works well. Test any method on a hidden spot first, and always wash in cold water afterward. Skip bleach and hydrogen peroxide on colored prints, which can strip the design.